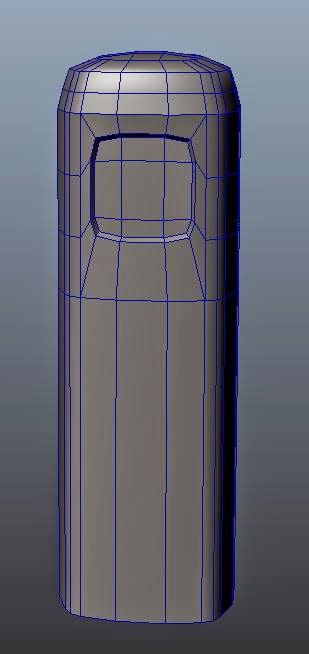
To start off this assignment I first had to model the gas pump and UV unwrap to make sure everything was right and that the texture wouldn't be stretched or squished when applied later. I was really pleased with my original model and didn't encounter too many problems as the actual model itself was quite simple just stretching out a box and rounding elements to create the basic gas pump shape.
After everything was how I wanted it to look and nothing was stretched I then began to texture the gas pump, again following along with part two of the Lynda tutorial. To create the texture I used the PSD network system in Maya which took all the elements of the model and laid these out into a texture sheet in Photoshop ready for me to texture in layers. The texture itself is built up of three layers, the specular map, bump map and the base colour. The specular map controls how shiny certain parts of the object is, the bump map controls how light reflects off the object giving the illusion of bumps and fine details and the base colour gives the overall model the main colour to bring it to life. I decided to take a personal approach to my model and added a sticker and used a different font on the text within the sign to create a vintage looking model and a more unique style on it.
Overall I am really happy with my model and I believe the texture really brings the model to life, however I think I could have improved with more time on the edges of the rust to make it look less airbrushed and more like it was rusting onto the white metal plate at the front.


No comments:
Post a Comment