My current blog for my university course, feel free to get in contact for more information at NThompson96@outlook.com
Thursday, 27 November 2014
Rigging a Fish
For this homework assignment we had the task of following along with a Lynda tutorial using a given fish model and rigging this fish model to make the fish swim along. In the tutorial we were given the fish model but had to create all the joints (bones) and the skin mesh as well as animating the final fish to create the overall fish swimming animation. I feel as though I have completed this task well and found the knowledge useful for when I want to apply this to my own future props to put into my games.
Wednesday, 26 November 2014
Tank Assignment
For this homework assignment we had the task of designing a tank or armoured vehicle concept and sketching this out using the two point perspective and box lighting techniques we had learned in class.
To start off the assignment I first created a visual board showing my research and inspiration for my own tank or armoured vehicle concept. I looked at various types of concepts including more blocky shapes as well as some more rounded organic shapes, but decided that a simple, blocky concept would work best to get used to the two point perspective and box lighting techniques learnt in class.
To start off the assignment I first created a visual board showing my research and inspiration for my own tank or armoured vehicle concept. I looked at various types of concepts including more blocky shapes as well as some more rounded organic shapes, but decided that a simple, blocky concept would work best to get used to the two point perspective and box lighting techniques learnt in class.
I decided to try out three different tank concepts after researching into the subject matter, one being a more blocky concept, the second being a more organic rounded style and the third being a mix of the both. I created all of these using the two point perspective method to create a realistic 3D concept that then could be used to model the final concept in a game. I decided that I liked my first concept the best as it was the most simple yet could be taken forwards easily with some added details to complete this assignment.
I then re-drew out my final chosen concept on a larger scale using masking tape to create my horizon line above the paper and then using the two point perspective method to create a 3D concept, I also added in some details to bring the concept to life and stop it being too simple as a overall concept.
Once I was happy with my concept I then took this into Photoshop to work it up using the box lighting method that we learnt in class.
This was the particular class method of the box lighting techniques to get a good 123 and sense of depth and shadow in the overall concept to bring it to life.
I chose to use the top grey scale set of 123 on my tank concept as I feel this has the best 123 and has the most contrast in between the highlights and shadows. I decided to add in some darker patches using a 70% grey on the hatch and end of the turret gun area to show the idea of where holes and indents would be.
I then decided to create another version painting over the top of the grey scale version with a blue colour to bring the concept to life. To achieve this I created a new layer, decided on my final blue shade, painted the entire concept with the blue colour using the paint bucket tool and then changed the layer mode to Overlay to show through the box lighting method to add that 3D, realistic look back into the final concept. I also added in a shadow below the concept to ground the object and lift it off the page to give the overall hover tank concept. Overall I am really pleased with my final design and feel I have put the skills learnt in class to good practice to create a simple yet effective final tank concept.
Friday, 21 November 2014
Rigged Turret
For this lessons session we had to rig our turret model, which is basically animating it. The overall process was very simple, using the animation tools in Maya by using various key frames and then rendering out the final video using the playblast feature. I really like the final rigged model as it brings the model to life and adds a more interesting view on a still model.
Final rigged turret
Gas Pump Model
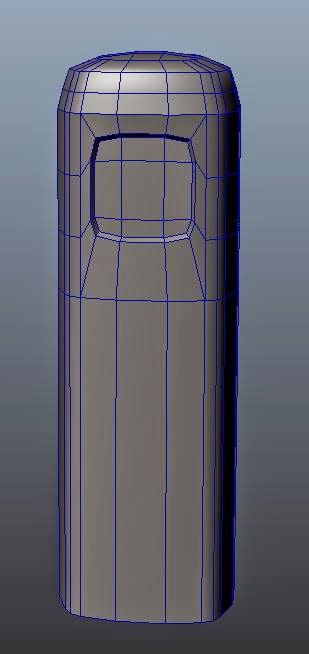
For this assignment we had to follow along with a Lynda tutorial to model and texture a gas pump to go along with our tools and furniture that will eventually go in the gas station scene.
To start off this assignment I first had to model the gas pump and UV unwrap to make sure everything was right and that the texture wouldn't be stretched or squished when applied later. I was really pleased with my original model and didn't encounter too many problems as the actual model itself was quite simple just stretching out a box and rounding elements to create the basic gas pump shape.
To start off this assignment I first had to model the gas pump and UV unwrap to make sure everything was right and that the texture wouldn't be stretched or squished when applied later. I was really pleased with my original model and didn't encounter too many problems as the actual model itself was quite simple just stretching out a box and rounding elements to create the basic gas pump shape.
After everything was how I wanted it to look and nothing was stretched I then began to texture the gas pump, again following along with part two of the Lynda tutorial. To create the texture I used the PSD network system in Maya which took all the elements of the model and laid these out into a texture sheet in Photoshop ready for me to texture in layers. The texture itself is built up of three layers, the specular map, bump map and the base colour. The specular map controls how shiny certain parts of the object is, the bump map controls how light reflects off the object giving the illusion of bumps and fine details and the base colour gives the overall model the main colour to bring it to life. I decided to take a personal approach to my model and added a sticker and used a different font on the text within the sign to create a vintage looking model and a more unique style on it.
Overall I am really happy with my model and I believe the texture really brings the model to life, however I think I could have improved with more time on the edges of the rust to make it look less airbrushed and more like it was rusting onto the white metal plate at the front.
Tuesday, 18 November 2014
Insectoid Character Design Assignment
For this homework assignment we were given the task of creating an Insectoid character, it had to have purpose that could be taken forward into a game concept if presented to a games company, it couldn't just be a person with a bugs head etc.
To start off this project I decided to start with a visual board of images representing my research, inspiration and thought process to start the project off. I looked at both concepts already out there with the insectoid theme and also various insects that exist in the real world.
To start off this project I decided to start with a visual board of images representing my research, inspiration and thought process to start the project off. I looked at both concepts already out there with the insectoid theme and also various insects that exist in the real world.
After researching I then completed some rough studies of various insects to get the feel of how each one looks and differs and features I could possibly pick out and alter for my own concepts.
Once I was happy with my studies and had a few ideas in mind I then started sketching out my 3 rough concepts for my own character using my studies and inspiration as reference. I picked on certain features from my studies and combined these with other insects and there features to create some cool insectoid concepts.
I decided after drawing my rough concepts out I liked the first idea the best as I felt this gave me the most freedom and movement to expand further and looked the most evolved insectoid concept out of the 3. I then took this idea forward and created a blue-print style view of this final concept.
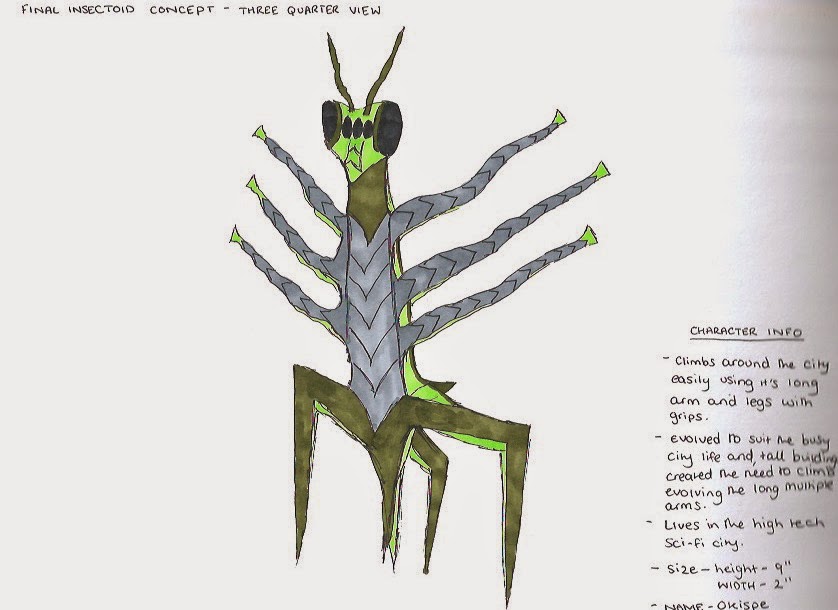
I then created my final three quarter view angle of my final concept and added some colour to flesh out the overall concept and bring it to life. I am really pleased with my final concept as I feel I have captured the brief well and followed through from my research to my final concept and I believe this works well with the bio I have given my character and I could easily see this being used in a game environment.
Friday, 7 November 2014
Adding Texture to the Turret
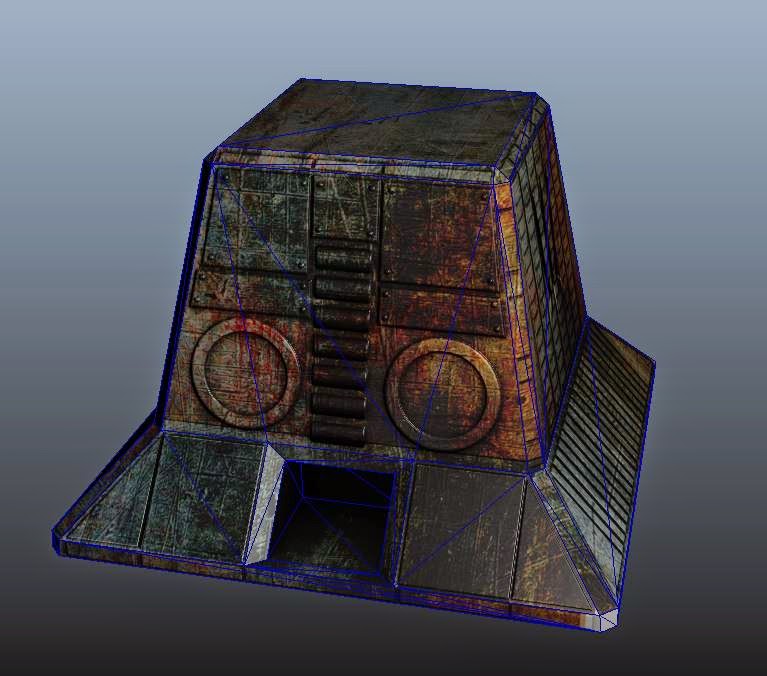
For this lesson we were given the task of texturing a given model of a turret. I first started by baking the detail added onto the model last session using xNormal, which I created both a normals and an occlusion map and then loaded up the occlusion map in Photoshop and began to play around with texturing the details. I added textures such as scratched metal, rust, blood splatters and decals to bring the turret to life. I am really pleased with the final textured turret as it really adds a high quality look to the turret and brings it to life, looking like something straight out of a video game.
Textured occlusion map in Photoshop
Final textured turret model
Speed Painting Practice
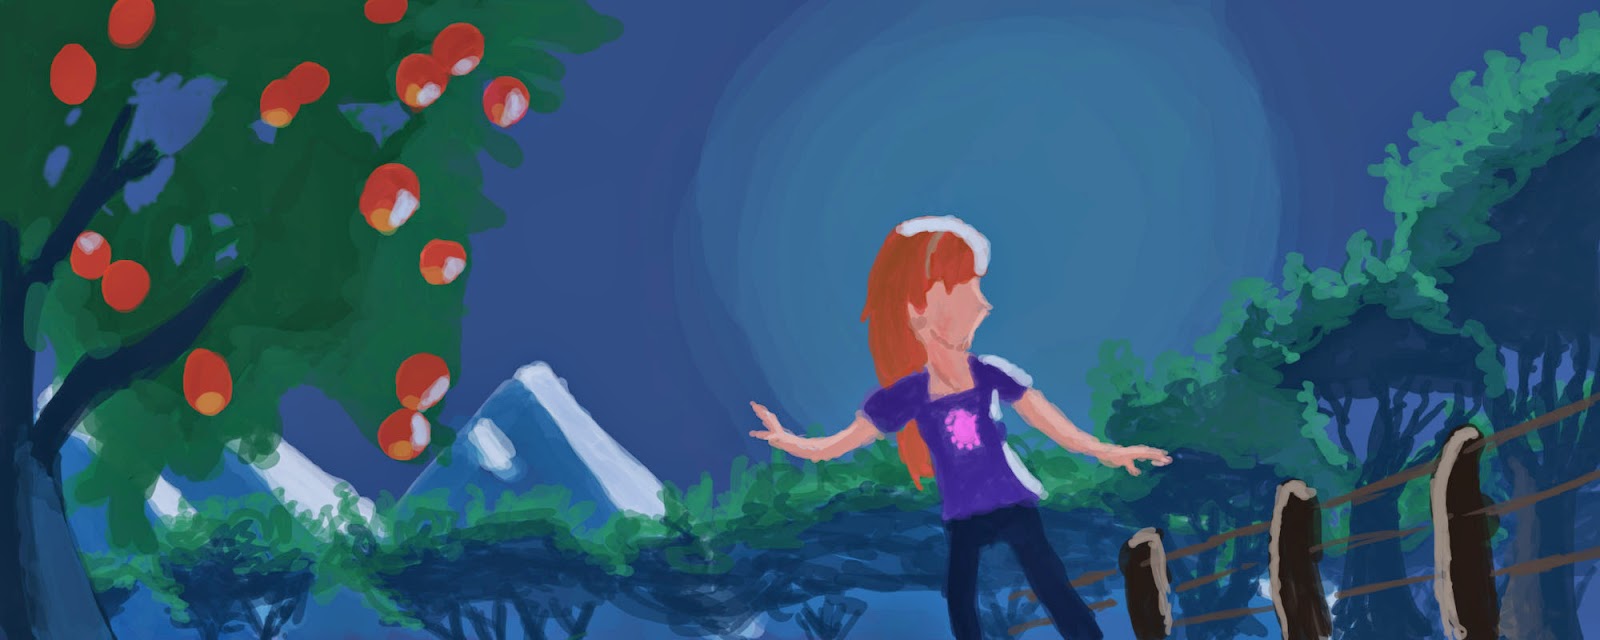
For this task we had to copy a given image in Photoshop and use the technique of speed painting and using layers to our advantage to block out the rough concept of the image. To start off we had to work out how many layers to use to follow along with the given image, I split my piece into 8 layers starting with the background sky colour and building up to the foreground with the front tree and girl. For this speed paint we had 2 hours to complete a rough version of the image.
I am really pleased with the final outcome, although it is not finished and I would need to work into the image to add details such as eyes but for a speed paint in 2 hours I feel as though I used the tools and skills learnt so far successfully to roughly block out the image.
Tuesday, 4 November 2014
Monster Concept
For this weeks Halloween task we had a homework assignment to design and create our own monster concept, we had lots of freedom with the final piece as it could be realistic and gory or stylised, anyway we wanted as long as we put the effort into the piece and worked it up well.
To start the task off I first created a visual mood board representing a bunch of reference and inspiration images for me to start creating my own concepts from.
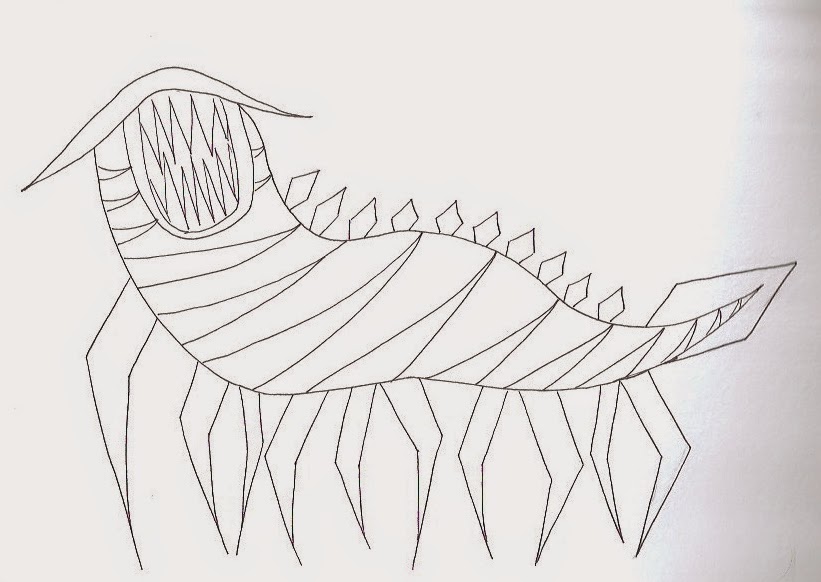
After researching into current concepts out there I then started sketching out some rough ideas for my own concepts and tried out three rough ideas, the first being a more stylised Tim Burton style monster with geometric shapes, the second and third being a more realistic, scary style of concepts.
I then decided on my final concept as my second design as I felt this was the most visually interesting monster concept that I could take forward and digitally paint to bring the piece to life. The idea was based off a mash up of a few of my research inspiration images and then added my own spin on the piece and created an earth like monster. I then re-drew this concept out on a larger scale and altered the design by adding in some more legs and making the tail longer to stretch the creature out which flowed better with the long slim legs.
I then took this design into Photoshop and added the base colours to map out the concept. I decided on earth like colours such as greens and browns to make the creature more earth like and realistic to fit in with the environment.
Once I was happy with my base colours I then created another layer and used the multiply layer function and added a 60% grey to mark out my shadows on the creature and add a more 3D realistic feel.
I then created one final layer and used the multiply layer function again and started to blend the shadows in with the base colours to add a more natural, less harsh flow to the highlights and shadows, I also added some highlights and a shadow underneath the creature to ground it and stop it floating around the page, I am really really pleased with my final concept as I feel it looks exactly as I intended and I feel as though I am improving with my digital painting skills overall.
Subscribe to:
Comments (Atom)


